Any modern business needs social media to successfully reach their audiences and grow. We’ve talked about the importance of Instagram for independent travel agents, but Facebook is the frontrunner when it comes to the best social media platforms for your business. But how do you get started creating a Facebook page for your business? Follow this step-by-step tutorial for getting your independent travel agency’s Facebook Business Page set up:
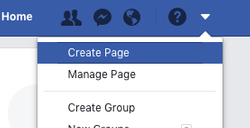
On your personal Facebook page, go to the top right corner and select the down arrow. Click on “Create Page.”
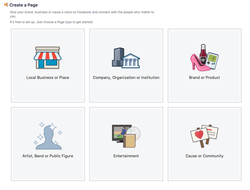
This will take you to the Facebook’s Create A Page.
There are multiple types of Pages you can create on Facebook, so it’s important to start out by choosing the correct one. For your independent travel agency, you’ll want to select the “Local Business or Place” option.
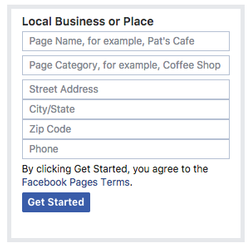
Once you select that option, a form will appear asking for some basic information about your page, such as your travel agency’s name, the category, address and contact information. For the page category, we recommend putting “Travel Agency” so it’s easy for visitors to your page to see immediately what service you provide.
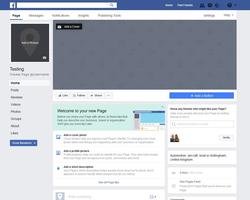
After filling out all of the basic information about your travel agency, click Get Started, and you’ll be directed to a mostly empty template for your Facebook Business Page.
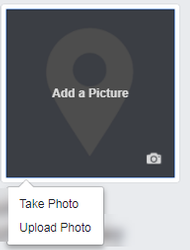
Start customizing the page by adding a profile picture and cover photo. For the profile photo, it’s important to remember the image will be small. We recommend uploading a square image of your logo (that’s what we do!).
Next, select a cover photo that will capture people’s attention and give them an idea of what you have to offer. The cover photo will be a horizontal rectangle that is 820 pixels by 312 pixels. It’s up to you and your agency’s style what image you select. You could upload a photo from your own travels, a picture of you with some clients, or find a free image on a site such as Pixabay.
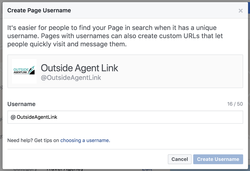
After you’ve got your pictures loaded, it’s time to set up the Page Username. The most obvious and easy choice would be your independent travel agency’s name. If that is taken, you can get creative, but remember to keep it relevant to your service and easy to understand. Some options could be “@YourAgency’sNameYourCity” or adding the word “page” at the end.
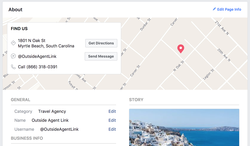
Now that your page’s empty template is filled in a bit, head on over to the “About” tab in the right menu.
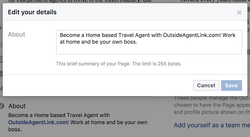
On this page, you can add the more detailed information about your independent travel agency, such as location, contact, hours and a brief description. The description can be found under “About” and is limited to 255 characters. We recommend you write a short introduction with your name and what service you provide. For example, “My name is Jane Smith, and I provide professional travel advice and customized trip planning for clients in the [your city] area.”
Once you’re done updating your travel agency’s about information, you’re ready to start posting!
